How a professional installs a hardwired smoke detector
There are different types of smoke alarms, and they can either be battery-powered or hardwired.
There are a few advantages to having hardwired detectors. They connect to the rest of the smoke alarms in your home — if one senses smoke, they all ring out — and they use your home’s electrical network as a power source. You don’t have to worry about changing their batteries or hear the chirping alarm sound that battery-powered models give off when they’re running out of energy.
The downside is that hardwired detectors won’t work during a power outage. However, some models have a battery backup system that allows them to function during a power surge. Hardwired units are also more difficult to install than battery-powered smoke detectors. Your installer will have to connect them to your home’s electrical system.
Installing hardwired smoke detectors is pretty complicated. Here’s the process an expert will follow to install your detectors.
Important: The first thing an installer should do is turn off power to the breaker panel before getting started and double-check that it’s off with a circuit tester!
Step 1: Place and install remodeling boxes
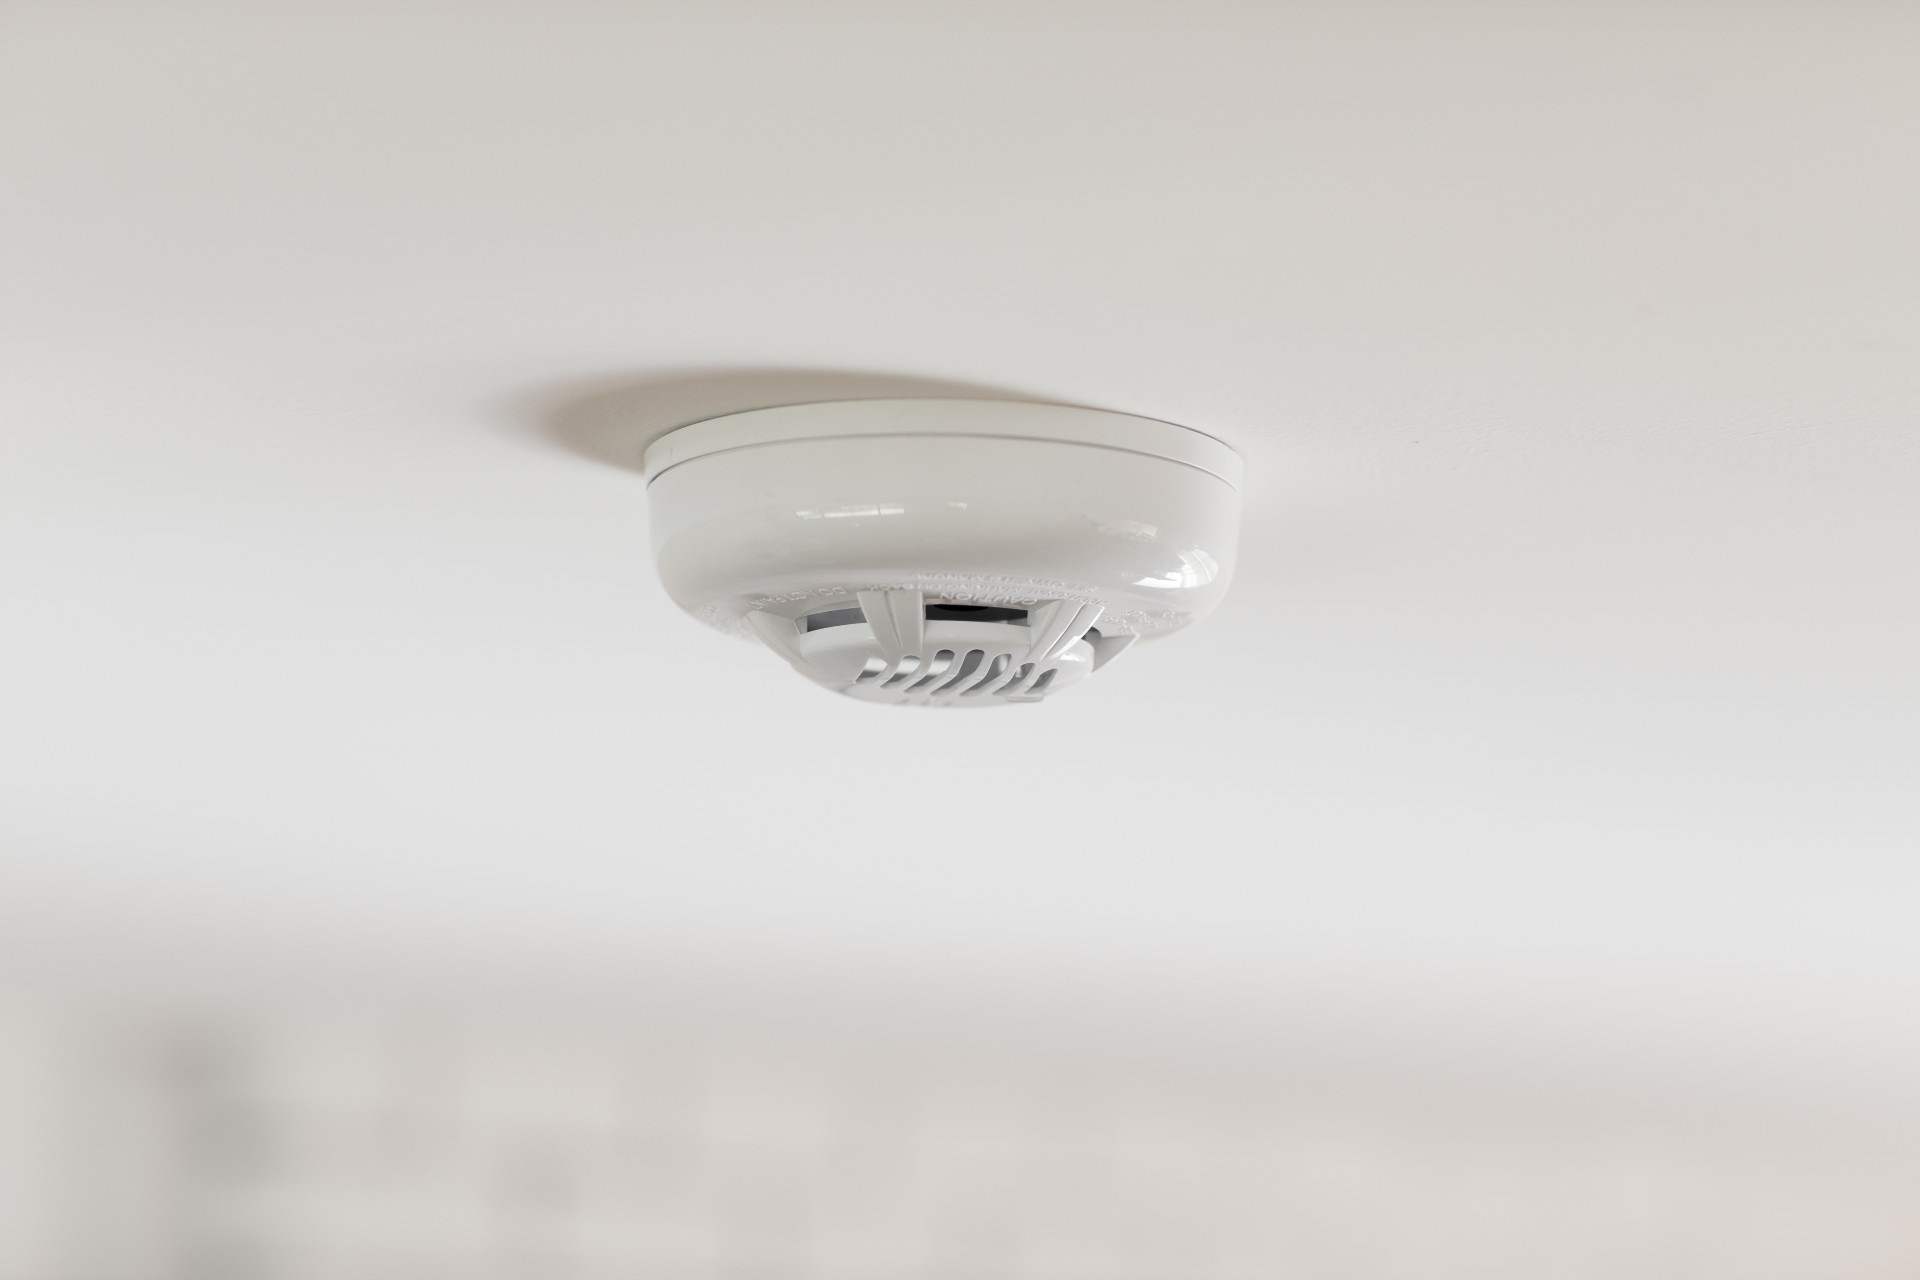
Your expert will need to place a remodeling box where your smoke detector will be. A remodeling box is simply an electrical box that’s inserted into drywall. Generally, your detector should be situated on your ceiling or about a foot down from your ceiling on your wall.
Your installer will use a stud finder to find out where the studs in the drywall are. Using a level and a marking tool, they’ll trace a straight outline of your remodeling box on the drywall and drill a pilot hole in the corner.
With a drywall saw, they’ll cut out the outline using the pilot hole as a starting point and place the remodeling box in the hole to see if it fits. The fit should be snug, but not to the point where the box needs to be jammed in for it to fit. If multiple detectors are being installed, similar holes will need to be cut for each detector location.
Next, your installer will set up your wiring, but they won’t configure it just yet. They’ll use some 14/2 NM wire (a 14/2 cable has a sheath, two wires, and a ground wire). They’ll run the wire from your home’s breaker box to the nearest smoke alarm location without connecting the cable to the breaker box and tug around 10 inches of wire through the hole.
If they’re setting up multiple detectors, they’ll run wiring from the first alarm location to the second and the second to the third, pulling out roughly 10 inches of cable through each hole. They’ll keep going until they’ve reached every smoke alarm site. When they’re done, all your smoke alarm locations should be connected by wire.
With wire strippers, they’ll remove the shearing from the NM wire, position the hanging wire into the back of the remodeling box, and place the box into the hole in your wall. They’ll tighten the clamping tabs to tighten the box to the wall, locate the copper ground wires and secure them to the remodeling box using a ground screw. Some boxes have clamps to use instead of a ground screw.
Step 2: Wire the remodeling boxes
It’s time to connect your wiring. Your installer will remove about three-fourths of an inch of insulation from the ends of the wires with wire strippers and attach the wires to a 120-volt wire harness. Many smoke detector models have their own harnesses.
They’ll fasten the NM wire (that has just been stripped) to the harness wires (with matching colors) using wire nuts. White wires connect to white wires and red wires connect to red wires. Wires of different colors should never be connected.
Each smoke detector location should have a wire harness. The harness should connect the wires from the breaker box to the smoke detector, and the wires that run from smoke detector to smoke detector. For safety, your installer will tie some electrical tape around the wire connectors.
Any extra wire and the wire connectors will be slipped into the remodeling box, but the plug end of the wire harness should be left hanging out.
Step 3: Connect the smoke detector
Now, your installer can install your smoke detector. They’ll pull the wire harness through the alarm’s mounting plate and line up the mounting plate’s screw holes with the remodel box’s screw holes.
The wire connection should still be hanging out of the mounting plate. They’ll screw the mounting plate to the remodeling box (screws should be included with the system) and attach the wire harness plug to the back of your smoke detector.
If your hardwired detector has a battery backup, they’ll open the battery compartment, place the battery inside, and secure the battery compartment. Most systems use 9-volt batteries. Then, they’ll attach the front of your smoke alarm to the mounting plate (it should twist into place) and make sure the smoke alarm fits snugly.
The only thing left to do is to connect the NM wires to the actual breaker box. Your installer will make sure the circuit power is off before attempting this step.
Step 4: Test the smoke detector
When your smoke detectors are wired to the breaker panel and each other, your installer can activate the power to the circuit on your breaker box. If your alarm has a power light, it should be lit up.
They’ll hold down the test button on each alarm. A loud siren should be heard when the tester is pressed. If the alarm doesn’t sound, they’ll shut off the power to the circuit on your breaker box and make sure all the cables are properly attached. If there are no wiring issues, the alarm is likely defective and needs to be replaced.