There's a very good chance you or your parents have a shoebox of photos in the basement or an old box of photo albums filled with pictures of people you don't know. You might have noticed that some photos are faded, yellowed or showing some damage. Uploading your photos can preserve them for future generations.
Photographic paper and other materials have improved over the years, along with restoration techniques. You can spend the time and money restoring them, or you can spend an afternoon uploading your photos into cloud storage. This sounds simple enough, but you don't want to scan a bunch of photos without organizing them for future reference — that's just transferring the mess of the shoebox to the digital space.
The following are six easy tips for uploading your photos into a digital storage solution:
1. Choose a device
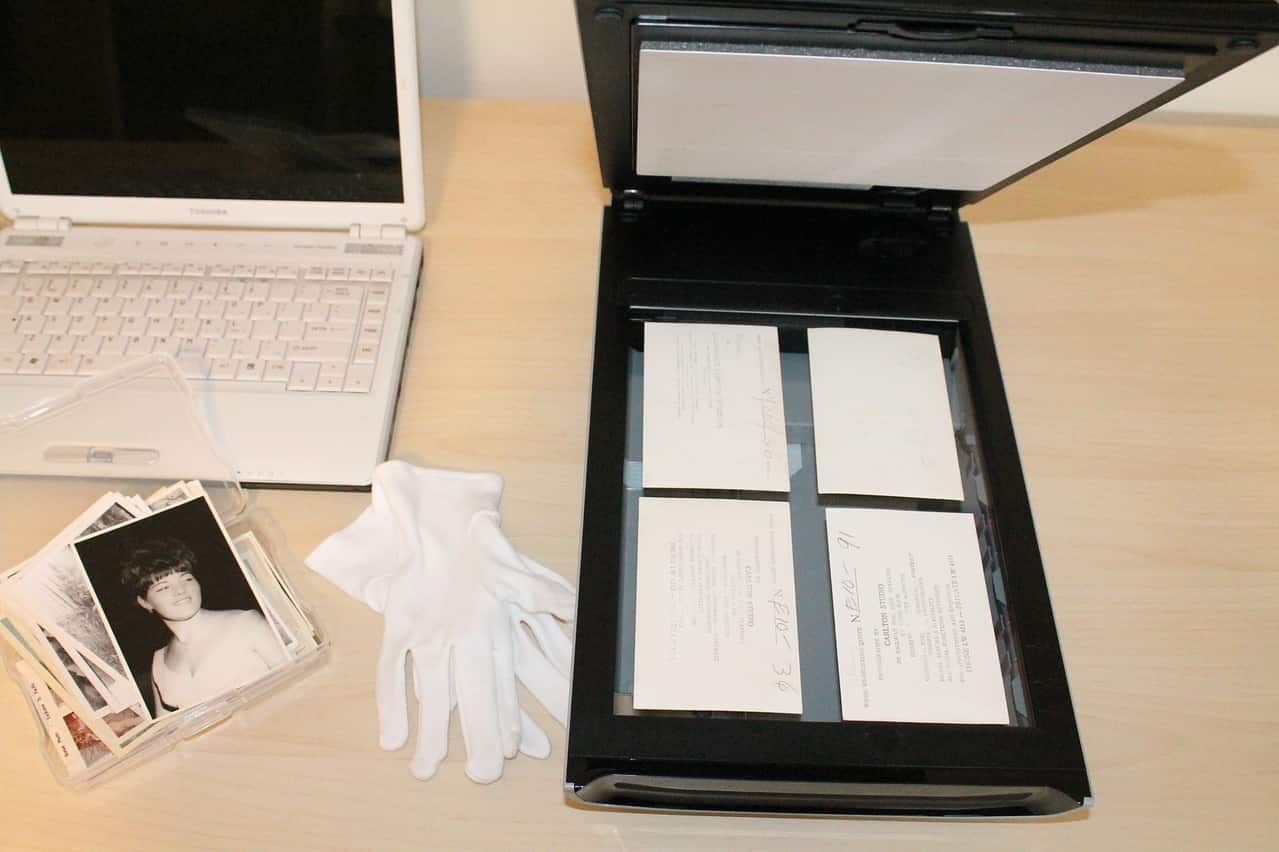
There are enough phone apps available that can scan your photos, but the quality isn't going to be the best. Even a cheap scanner gives you a higher-quality photo upload. You can outsource your scanning at pennies per picture, but that can add up if you have a lot of photos to go through. If it's more expensive than purchasing your own unit, buy a scanner and block out an afternoon.
2. Organize your inventory
Take a look at all your photos and see whether there are any common themes, such as family, events or dates. Once you've picked your overall organizational structure, decide on how you'll name each photo. It could be something as simple as "[name]_[date]_[event]." However you name them, keep it consistent, easy to remember and searchable.
Next, organize your photos into stacks. Once you've done that, it's time to look at how you'll organize your cloud storage. Don't do a scan and dump — that's a guarantee you'll never find any photo ever again. Instead, consider creating folders based on your overall organizational structure and adding sub-folders as needed.
3. Dust off your albums
You need to prep your photos before you're ready to scan them. You don't want your photos to have little specks of dust on them when you upload them into the cloud. Use a soft, lint-free cloth to remove dust from the photos and to dust the scanner's bed.
4. Program your scanner
You can program your scanner with various picture settings. CNet suggests selecting a resolution of 300 dots per inch (dpi) for 4x6 photos, or 600 dpi if you want bigger prints.
5. Scan your images
Scanning can be tedious, so you should consider scanning multiple images at once. Remember those stacks of photos you created in the beginning? Scan each stack in groups and save them to your folders. Make sure to leave space between the photos so you can crop them as needed.
If any of the photos have information such as names, dates and location written on the back, add that to the digital copy as well.
6. Fix and adjust as needed
Once you've scanned your photos, you can use a photo-fixing tool to color-correct red eye or faded colors. You can also get as creative as you want and jazz up those old photos.
Once you've scanned all your photos, why not have a viewing party? Invite your friends and family members over, make some popcorn and enjoy your trip through family history.
Contact Vivint to learn more about improving your photo storage solutions.